Authentik Outpost 사용해보기
Technitium 에 authentik 도입하기
홈 서버를 운영하던 중 Tailscale 환경에서 DNS server 를 통해 내부 리소스에 쉽게 접근가능한 환경을 구축하고 싶었다.
이때 도입하게 된 Technitium DNS Server, Adguard Home 같은 단순한 서비스를 사용하려고 했으나 Zone 설정이 더 디테일하여 Technitium을 설치하였다.
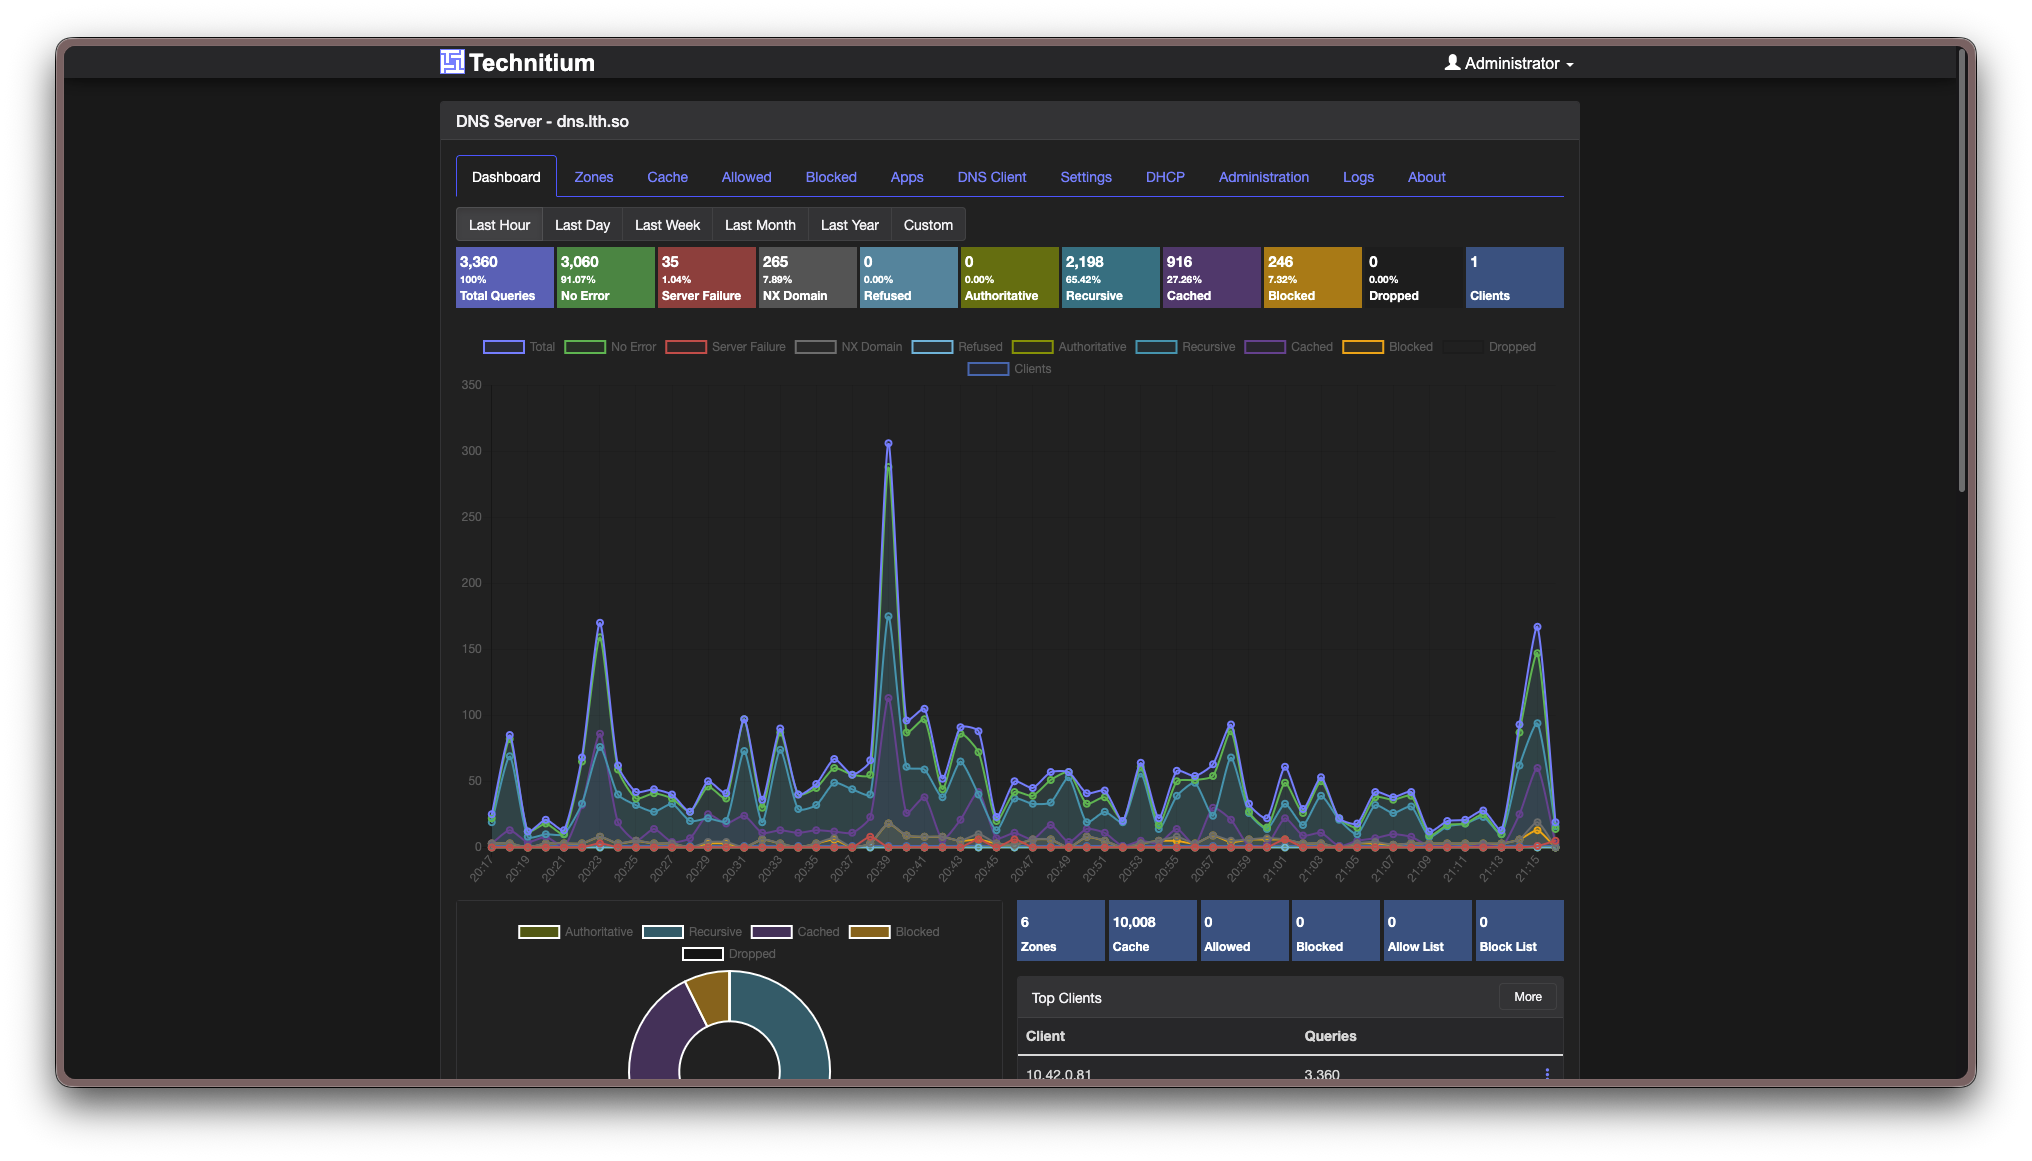
그리하여 배포 완료한 DNS 서버, 다만 단점이 있었다.
SSO 지원을 하지 않는다는 점
모든 서비스에 Authentik(SSO) 을 붙이고 싶던 나는 Technitium 에도 어떻게든 SSO 를 도입하기로 결심하였다.
1) OIDC 지원하는지 확인하기
아쉽게도 지원하지 않았다.
2) Outpost 를 사용하여 proxy auth 도입
Authentik 에는 Outpost 라는 기능이 있다.
아웃포스트는 authentik 컴포넌트의 단일 배포 단위로, 본질적으로 하나의 서비스이며, authentik API에 연결할 수 있는 곳이라면 어디든 배포할 수 있습니다.
나는 Outpost 의 Proxy Provider 를 사용하였는데, SSO 를 지원하지 않는 서비스에 프록시 레이어를 추가하여 사용자가 Authentik 을 거치도록 구현하였다.
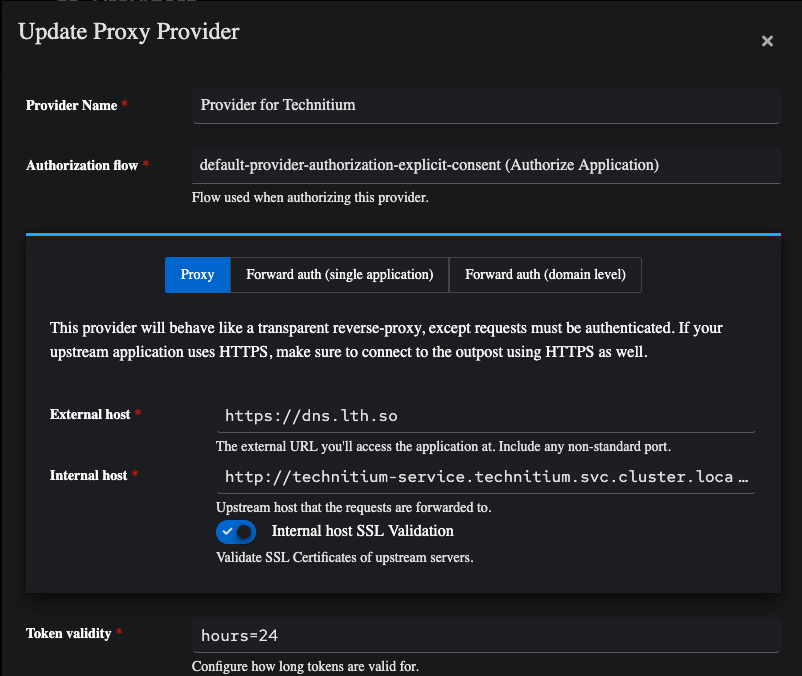
설정은 의외로 간단하였다.
- External host(외부 공개 주소) 를 설정하고
- Internal host(프록시 될 내부 서비스 주소) 를 원하는 서비스로 설정하면 끝
다만 나는 Istio 를 사용하고 있기 때문에 VirtualService 를 추가해주었다.
apiVersion: networking.istio.io/v1
kind: VirtualService
metadata:
  name: technitium
spec:
  hosts:
    - "dns.lth.so"
  gateways:
    - istio-ingress/public-gateway
  http:
    - route:
        - destination:
            host: ak-outpost-technitium.authentik.svc.cluster.local
            port:
              number: 9000
      headers:
        response:
          set:
            Strict-Transport-Security: max-age=31536000; includeSubDomains
Header 옵션은 HSTS 를 위한 응답 추가이다.
정말 끝인가?
성공적인 Auth Proxy 구현, 하지만 로그인은?
Authentik Auth layer 는 추가하였으나 Technitium 서비스 자체의 로그인은 동작하지 않았다.
Authentik 에서 jwt 쿠키를 만들어 서비스에 전달할 수 있으나, 일단은 구현 가능여부를 파악하기 위해 /login 엔드포인트를 수정해보기로 하였다.
3) Service 로그인 구현
내가 사용하고있는 홈 서버에서는 EnvoryFilter 를 사용할 수 있는데, /api/user/login 을 요청할 시 userId와 userPassword 를 수정하여 넘겨주면 되는게 아닐까?
그리하여 추가한 Lua script

function envoy_on_request(request_handle)
  local authority = request_handle:headers():get(":authority")
  if authority ~= "dns.lth.so" and authority ~= "dns.limtaehyun.dev" then
    return
  end

  local path = request_handle:headers():get(":path")
  if path == nil then
    return
  end

  local path_only = string.match(path, "^([^?]*)")
  if path_only ~= "/api/user/login" then
    return
  end

  local body = request_handle:body()
  if body == nil then
    return
  end

  body:setBytes("<form-data>")
  request_handle:headers():replace("content-type", "application/x-www-form-urlencoded")
end
단순하게 /api/user/login 으로 접속 시 body 를 replace 해주는 구문이다.
가설대로라면 아래 플로우로 사용자 로그인이 가능해야한다.
실제 배포 성공한 모습
여담
- 아래 이슈에서 나랑 동일한 이슈를 겪고 해결한 케이스가 있었다.
https://github.com/TechnitiumSoftware/DnsServer/discussions/1197 - EnvoyFilter에 userId와 userPassword 를 명시하였는데 GitOps 를 사용하는 환경에서 아이디와 비밀번호를 노출하기는 무리였다.
- n8n 도 비슷하게 인증을 구현하였다. 다만 authentik에서 JWT token 을 생성하고 이를 서비스에 전달하는 방식을 사용하였다.
import jwt
import datetime

secret = "<JWT_SECRET>"

n8n_id = request.user.attributes.get("n8n_id")
n8n_hash = request.user.attributes.get("n8n_hash")

payload = {
    "id": n8n_id,
    "hash": n8n_hash,
    "usedMfa": False,
    "iat": int(datetime.datetime.utcnow().timestamp()),
    "exp": int((datetime.datetime.utcnow() + datetime.timedelta(hours=24)).timestamp())
}

token = jwt.encode(payload, secret, algorithm="HS256")

return {
    "ak_proxy": {
        "user_attributes": {
            "additionalHeaders": {
                "cookie": f"n8n-auth={token};"
            }
        }
    }
}
배포한 리소스는 아래 주소에서 확인할 수 있다.